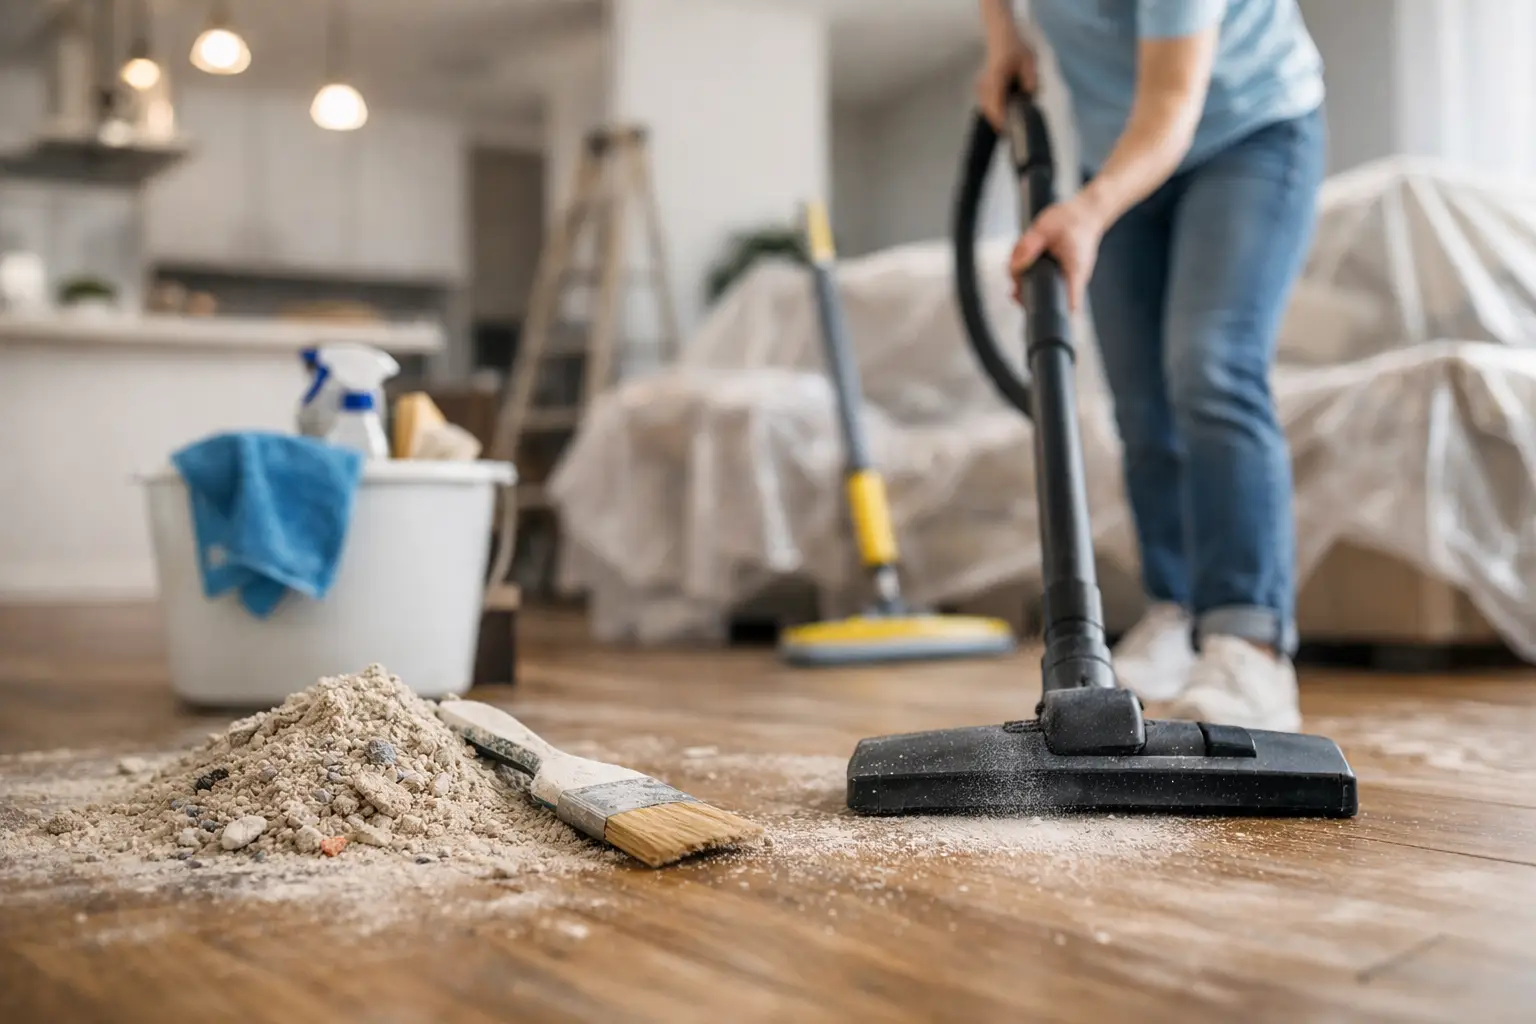
Renovation dust does not stay in the room where the work happened. It settles inside cupboards, along skirting boards, on window tracks, in soft furnishings and within air-conditioning filters. Knowing how to remove renovation dust properly protects the presentation of the property, helps prevent repeated cleaning, and gets a home or short-let ready for use sooner.
For a light decorating job, a careful clean may be manageable in-house. After plastering, sanding, cutting tiles, removing walls or fitting joinery, the dust load is often far greater than it first appears. In that case, a structured post-construction clean is the more reliable route.
Before you start removing renovation dust
Do not begin by sweeping the floor with a dry broom or wiping every surface with a dry cloth. Both methods push fine particles back into the air, where they can resettle in another room. This is why a property can look dusty again only hours after it has been cleaned.
First, make sure all building work is complete and that tradespeople have removed their tools, offcuts and waste. Open windows where conditions allow, but keep internal doors closed to contain dust in the affected area. If there is a strong outdoor breeze, opening every window can bring more dust in or spread it around the property, so use ventilation sensibly.
Wear a suitable dust mask, gloves and eye protection, particularly when dealing with powder from plaster, cement, grout or sanding. Some renovation dust can irritate the eyes and airways, while older properties may need additional caution if there is any uncertainty about the materials disturbed during the work.
Prepare the right equipment before cleaning. A vacuum with a HEPA filter is strongly preferred because it captures very fine dust instead of sending it back into the room. You will also need microfibre cloths, a mop with washable pads, two buckets, a gentle all-purpose cleaner and clean water. Keep enough cloths on hand to change them often. A single cloth used across several rooms simply transfers dust from one surface to another.
How to remove renovation dust in the right order
The correct order is top to bottom, dry capture before damp wiping, and room by room. Start at the highest surfaces, then work down to floors. Clean the least affected rooms first and leave the main work area until last.
Begin with ceilings, coving, light fittings, curtain rails and the tops of doors. Use the soft brush attachment on a HEPA vacuum rather than rubbing these areas with a cloth. Take particular care around newly painted walls and fresh plaster, which can mark or absorb moisture if cleaned too aggressively.
Next, vacuum walls, skirting boards, shelving, sockets, switches, door frames and window surrounds. Use a low-suction setting where possible on delicate finishes. Once loose dust has been removed, wipe hard surfaces with a lightly damp microfibre cloth. The cloth should be damp enough to capture particles, not wet enough to leave water marks or drip into electrical fittings.
Rinse or replace the cloth as soon as it turns grey. This detail makes a real difference. Fine dust is abrasive, and continuing with a dirty cloth can leave streaks on glossy kitchens, glass panels, mirrors and painted woodwork.
Finish each room by vacuuming the floor slowly in overlapping passes. Follow with a damp mop, changing the water whenever it becomes cloudy. For heavily dusted floors, expect to mop more than once. The first pass lifts the main residue; the second removes the film that becomes visible when daylight hits tiles, laminate or polished stone.
Do not overlook hidden dust traps
The visible floor is only part of the work. Renovation dust collects in places that are easy to miss during a quick clean, including:
- Window tracks, shutters, blinds and curtain rails
- Inside cupboards, drawers and wardrobes
- Extractor fan covers, vents and air-conditioning filters
- Radiators, sockets, light switches and door hinges
- Behind appliances and along the edges of fitted furniture
- Balcony thresholds, exterior sills and entrance mats
In Malta, open balconies, shutters and frequent ventilation can allow dust to move between indoor and outdoor areas. Clean window and balcony tracks carefully, then wipe external-facing frames before completing the internal glass. This reduces the chance of bringing residue back inside when windows are opened later.
Treat floors, fabrics and appliances differently
Different materials need different handling. Tiles and sealed stone usually tolerate a damp mop and neutral cleaner, but avoid acidic products on natural stone, cement-based grout or newly installed surfaces unless the product is specifically suitable. Timber and laminate should be vacuumed first, then cleaned with a well-wrung mop to avoid excess moisture entering joints.
Carpets, sofas, mattresses and curtains hold very fine dust deep within the fibres. Vacuum them slowly using an upholstery or crevice attachment, working in more than one direction. A standard quick pass will remove surface debris but may not be enough after sanding or plasterwork. If fabrics still feel gritty, smell dusty or release visible particles when touched, professional carpet and upholstery cleaning may be required.
Kitchen appliances need attention before they are used. Wipe inside cupboards, clean refrigerator seals and vacuum behind freestanding appliances where accessible. Dust can also collect around oven controls, extractor hoods and dishwasher edges. Avoid spraying cleaner directly onto switches, control panels or electrical outlets. Apply it to the cloth first.
For air-conditioning units, clean or replace filters according to the manufacturer’s instructions. Running an air-conditioning system with dust-filled filters can recirculate particles throughout the property and reduce performance. The same principle applies to extractor fans and portable fans: clean them before turning them on.
Allow for more than one cleaning pass
A common mistake is treating post-renovation cleaning as a one-day task with one final mop. Fine dust continues to settle after the first clean, especially if joinery fitting, deliveries or minor touch-ups are still happening. Plan a detailed initial clean, then return for a lighter follow-up wipe and vacuum once the property has been closed for several hours or overnight.
For a short-let property, this second pass is particularly valuable. Guests notice dust on bedside tables, inside drawers, along skirting boards and on black fittings long before they notice the work that caused it. A clean that is good enough for an empty property may not yet be guest-ready.
It also helps to separate cleaning from final presentation. Complete the dust removal first, then make beds, arrange linen, restock supplies and style the rooms. Bringing clean linen into a dusty space too early creates unnecessary rework.
When to arrange a professional post-construction clean
Professional support is usually the practical choice when renovation work has affected several rooms, included plaster or tile cutting, or needs to be completed against a handover or check-in deadline. It is also useful where the property has high ceilings, extensive glazing, fitted kitchens, upholstery, or multiple units requiring coordinated turnaround.
A professional team can work through the property in sequence, use suitable equipment for fine dust, and cover the detailed areas that slow down an in-house clean. For landlords, homeowners and Airbnb hosts, it reduces the gap between construction completion and a presentable, usable property.
Cleaning Services JV can coordinate post-construction cleaning for properties across Malta, with a clear booking and quote process for work that needs to be properly finished rather than quickly covered over. If the work is complete but dust is still appearing, treat that as a sign that the property needs another controlled cleaning pass before it is handed back, furnished or photographed.
#cleaning #clean #cleaninghacks #cleanwithme #cleaningmotivation #cleaningtips #cleanhouse #cleaningroutine #cleaningcommunity #deepcleaning #cleanhome #cleaninggadgets
#cleaningservice #cleaningservices #commercialcleaning #residentialcleaning #cleaningcompany #cleaningbusiness #officecleaning #professionalcleaners #cleaners #housecleaning #maidservice #cleaningservicejv
#beforeandafter #cleaningasmr #satisfying #satisfyingcleans #transformation #deepclean #cleaningtransformation #dirtytoclean
#carpetcleaning #upholsterycleaning #stainremoval #steamcleaning #windowcleaning #pressurewashing #powerwashing #ecocleaning #greencleaning #naturalcleaning #nontoxiccleaning